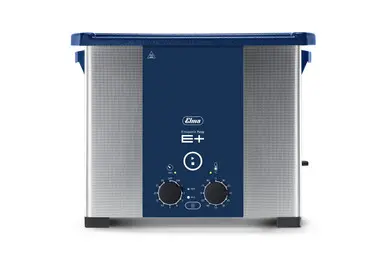
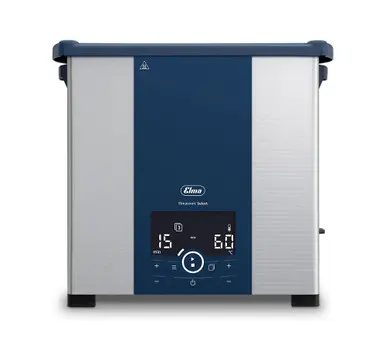
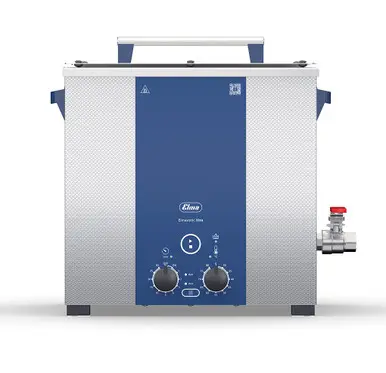
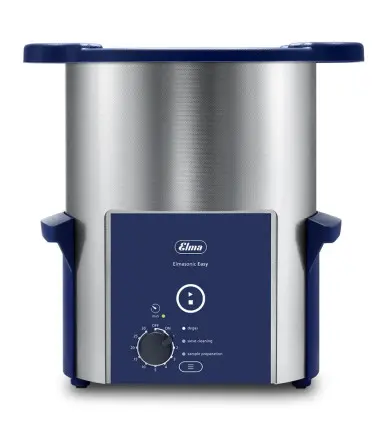
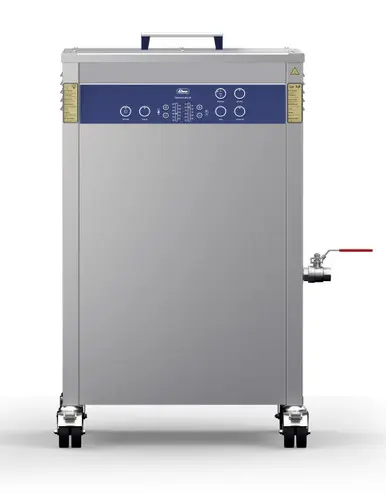
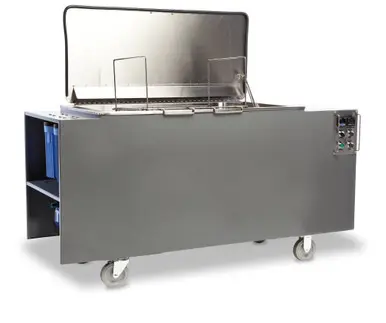
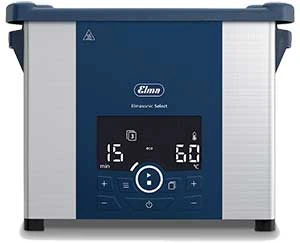
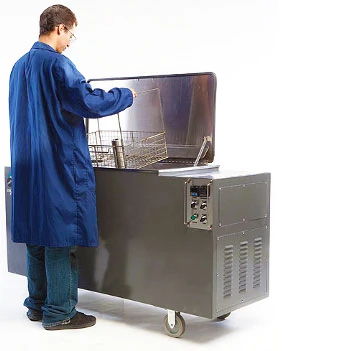
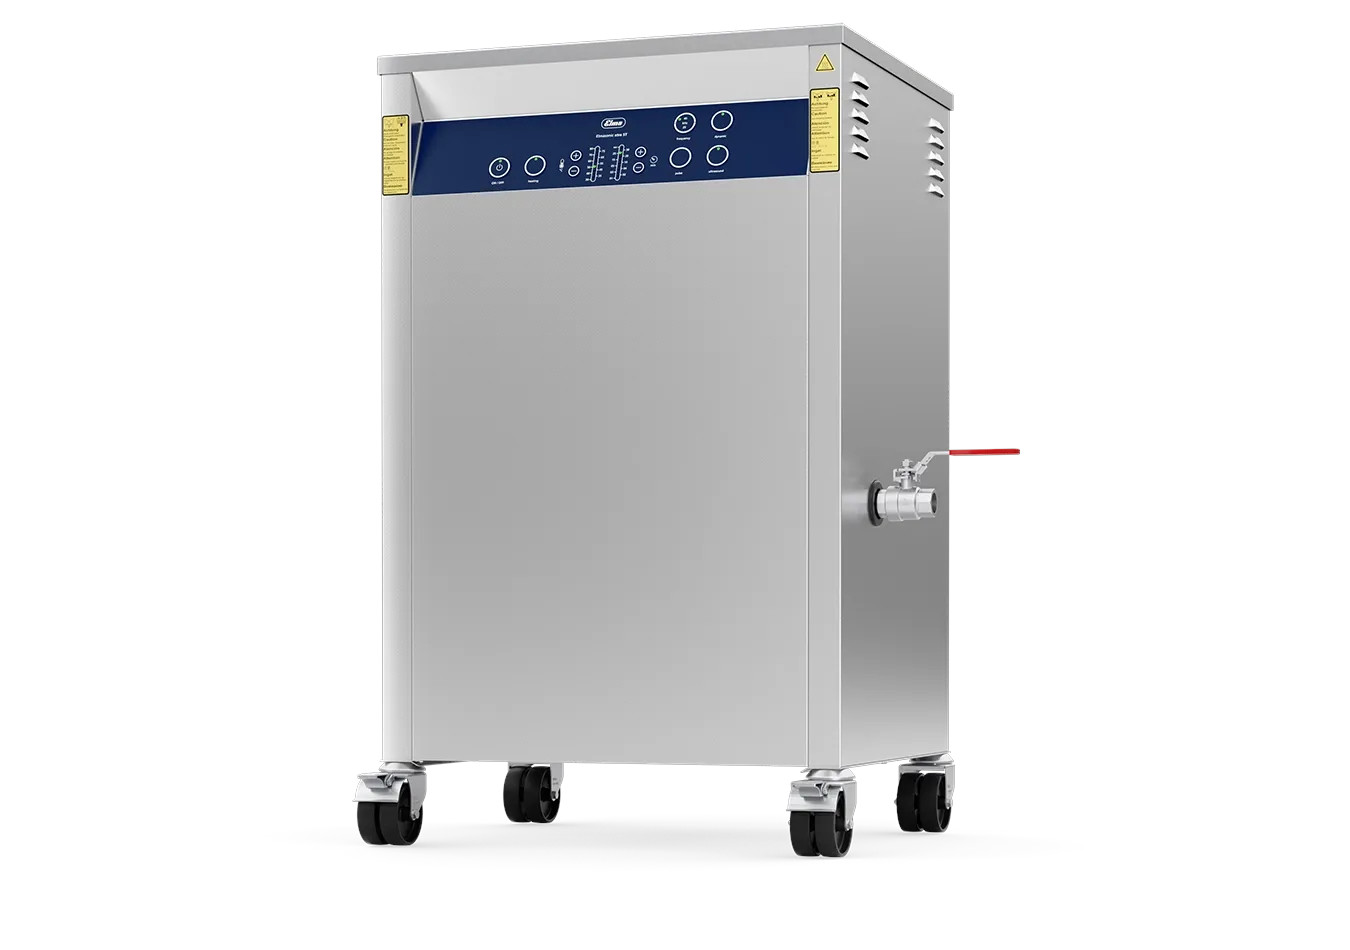
Ultrasonic Cleaners for Lab, Service & Industrial Cleaning
Your Ultimate Machine for Powerful Professional Cleaning
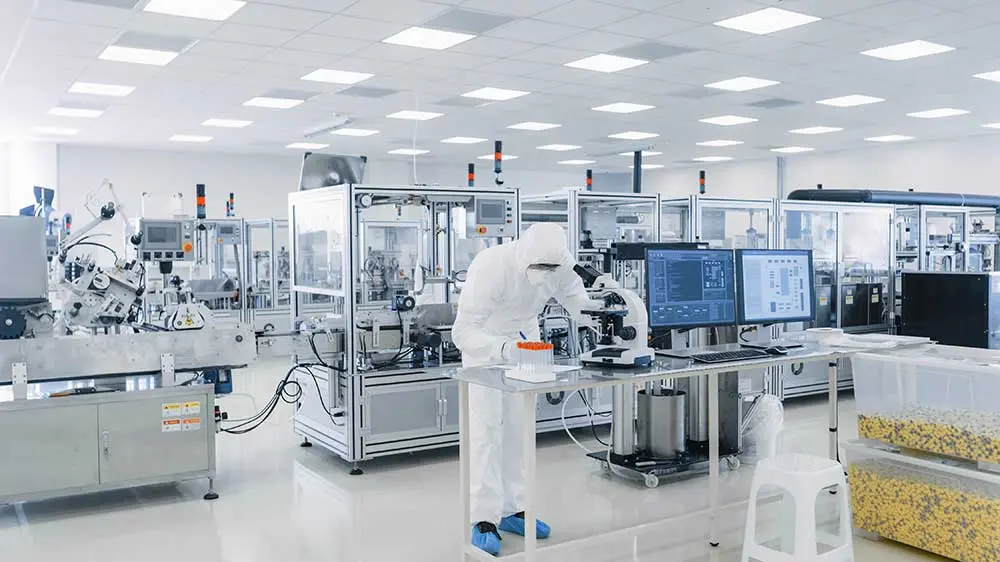
Tovatech offers powerful, durable, reliable, high performance ultrasonic cleaners manufactured with German ingenuity. From benchtop to high capacity industrial models, see what ultrasonic cleaning can do.
- Benchtop + Industrial
- Small to Large Tanks
- Application-Matched Accessories
- Fast U.S. Delivery
- Specialist Guidance

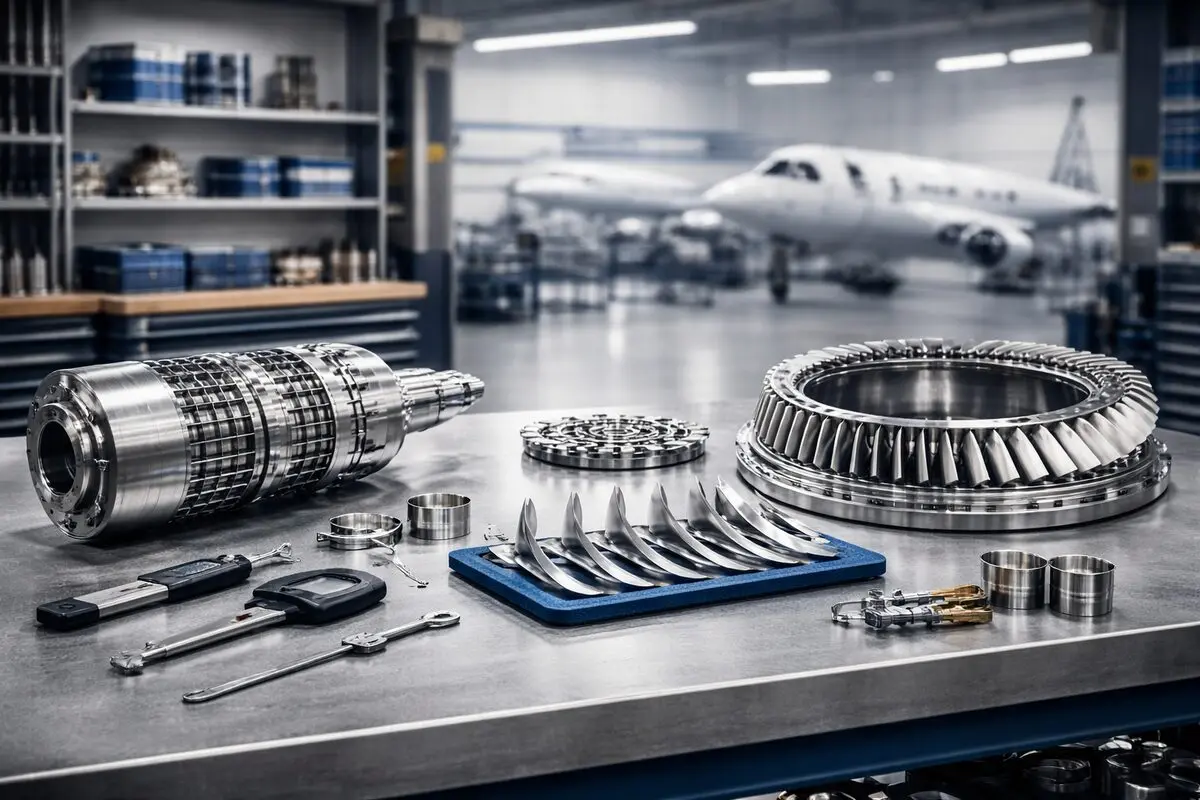
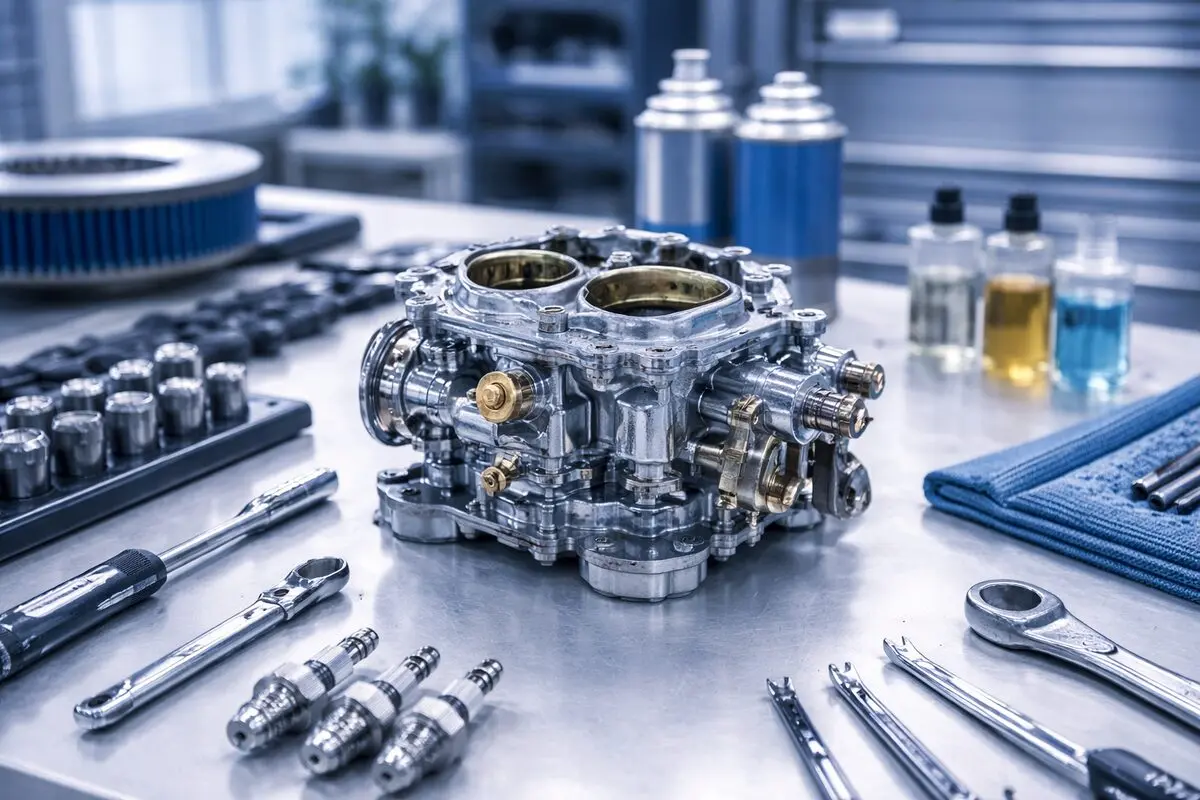
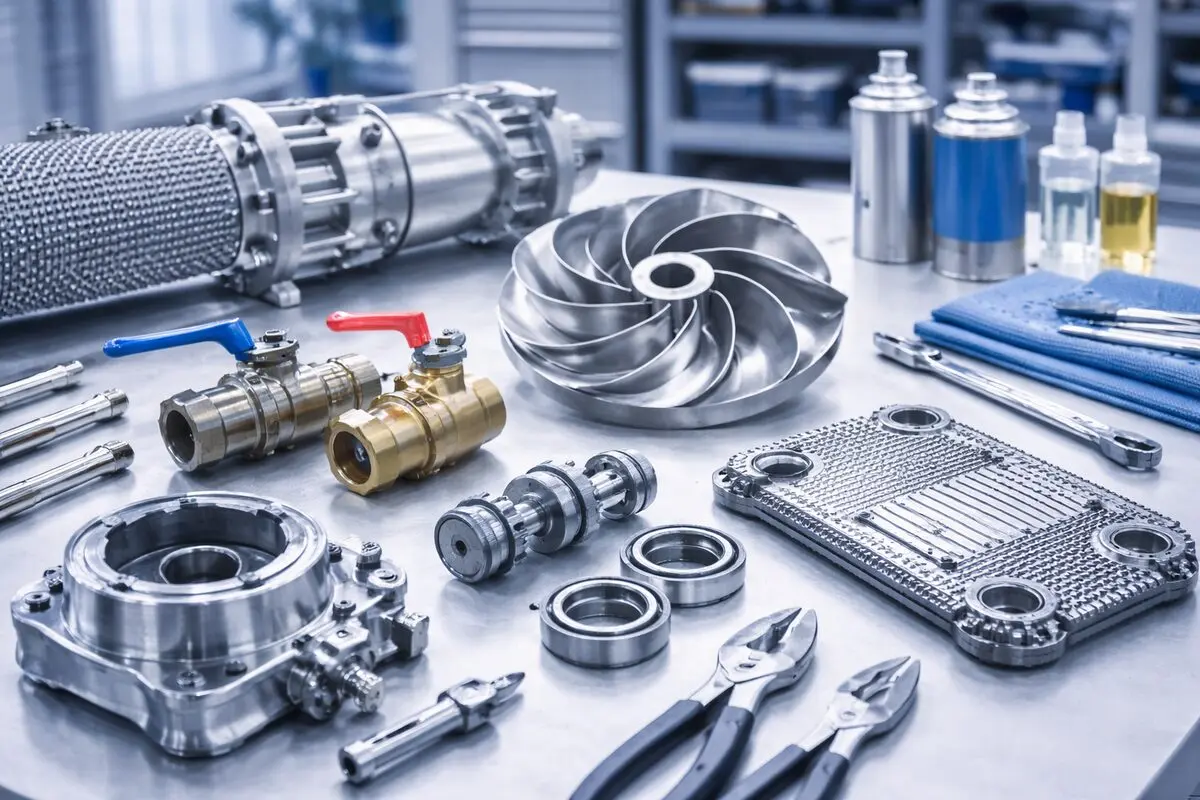


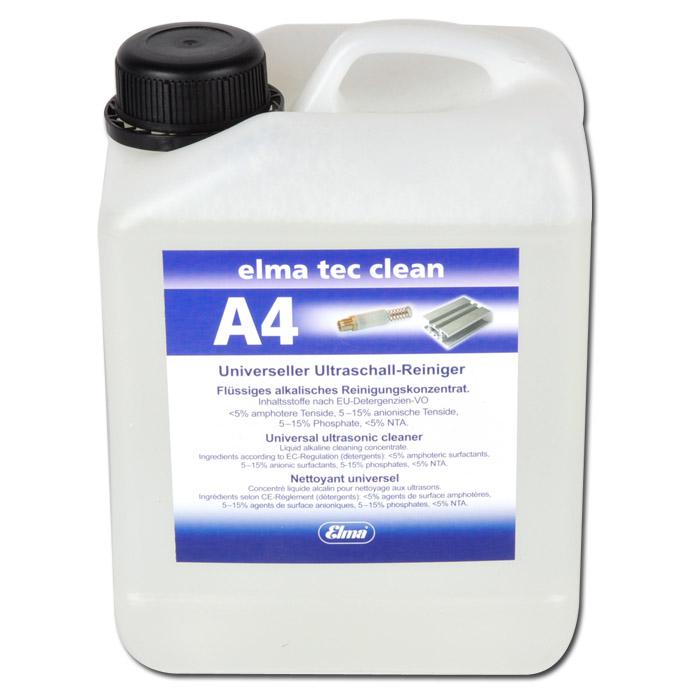
Ultrasonic cleaning concentrates for metals, plastics, optics, and delicate parts.