Ultrasonic Gun Cleaning Tank for Firearms
Investments in firearms by individuals and organizations can be substantial, and a regular cleaning regimen helps protect that investment. A MilMag article titled “Weapons Cleaning for Dummies” notes that of four methods described ultrasound “is the most firearm friendly method…” then explains what is involved in the process.
Here you will learn how to use an ultrasonic gun cleaning tank to maintain firearms. It offers you guidance on when and how to use gun cleaning solvents and lubricants, explains why ultrasonic gun cleaning tank is a wise investment for maintaining firearms, and offers equipment options for you to consider.
Cleaning Solvents for Firearms
Firearm owners may be aware of many gun cleaning “solvents” available on the market, but just what is a solvent? According to the Encyclopedia Britannica, a solvent is “ordinarily a liquid in which other materials dissolve in order to form a solution.”
Ultrasonic Cleaning – an Alternative to Gun Cleaning Solvents
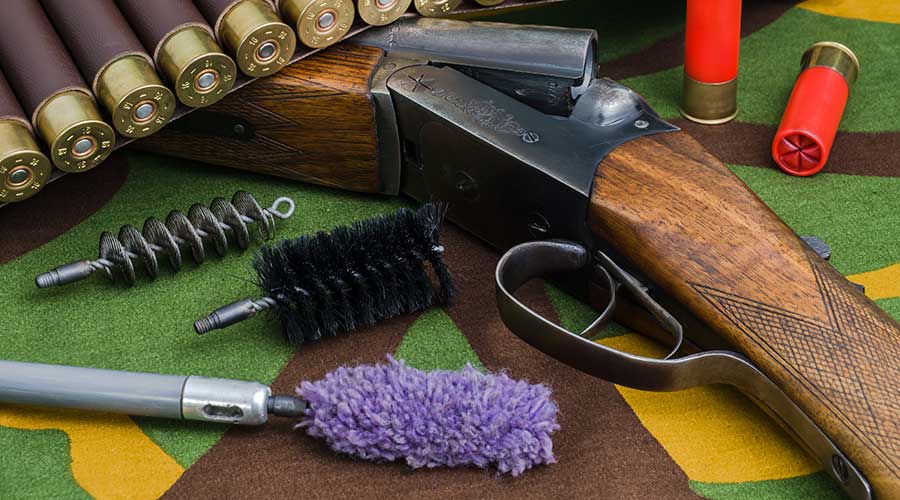
When it comes to maintaining firearms, gun cleaning solvents are generally employed just after a session on the shooting range or in the field. Savvy firearm owners recognize the importance of cleaning and lubricating their weapon immediately after use, using rods, brushes, pads, solvents and oils.
Firearm maintenance with an ultrasonic gun cleaning tank is more effective than manual methods using solvents and oils. While it’s not practical in the field, ultrasonic cleaning provides more thorough cleaning and lubricating on a periodic basis depending on how frequently firearms are in use.
Why an Ultrasonic Gun Cleaner Tank is Preferred
While a good practices is to clean your firearm shortly after use using brushes, solvents and lubricants, these steps do not remove all contaminants and residues that over time will reduce the value of your firearm.
That is why ultrasonic cleaners are widely employed by gun shop repair services, law enforcement agencies, the military and gun clubs, and for good reason.
Nothing is better when it comes to removing lead shavings, powder residues, old lubricants – in fact any contaminant that causes wear or otherwise degrades the performance of the firearm.
How the Gun Cleaning Process Works
Cleaning takes place in a stainless steel tank containing an ultrasonic cleaning solution formulated for particular cleaning tasks being performed. Cleaning solutions are described later in this post.
The underside of the gun cleaning tank is fitted with what are called ultrasonic transducers. These are excited by a generator causing them to vibrate at ultrasonic frequencies such as 40,000 or 45,000 cycles per second (40 or 45 kHz).
When the ultrasonic firearm cleaner is activated the transducers cause the tank bottom to become a vibrating membrane that creates what are called microscopic vacuum cavitation bubbles in the cleaning solution.
Cavitation bubbles implode on contact with objects immersed in the cleaning solution to blast loose and carry away contaminants. Because they are so small the bubbles access cracks, crevices and blind holes difficult or impossible to reach by manually cleaning with brushes, patches and solvents.
For more on this see our post on ultrasonic cleaners and how they work.
An Ultrasonic Gun Cleaning Exercise
Let’s move to examples of maintaining firearms with ultrasonic gun cleaning tank kits.
We’ll begin with recommended gun cleaning and lubricating formulas.
Removing contaminants is accomplished in a gun cleaning tank containing a biodegradable gun cleaning concentrate diluted to 10% with water. (Don’t worry, water is addressed next.)
The formulation is designed to remove powder residue, bullet shavings, hardened lubricants and other contaminants from firearms.
Second is an option to hand-lubricating cleaned weapons. Instead we suggest a lubricating formula used full strength in a lubricating pan. This pan is partially immersed in the cleaning solution pan in a procedure described next.
A 5-step Ultrasonic Firearm Cleaning Procedure
Following is a representative cleaning exercise for firearms.
- Disassemble the firearms according to manufacturers’ instructions. If you observe loose contaminants remove them with a brush to help preserve the effectiveness of the cleaning solution. Set aside ivory or wood grips.
- Fill the gun cleaning tank half way with water, add the correct amount of the cleaning solution concentrate for a full tank. Then add water to the fill line.
- Fill the lubricating pan with lubricating formula (allowing room for displacement). Insert the lubricating pan into the cleaning tank so the bottom is partially immersed in the cleaning solution. Activate the ultrasound to degas the cleaning and lubricating solution. Remove the lubricating pan and set it aside.
- For the cleaning cycle turn on the unit, set the thermostat (if so equipped) to the recommended cleaning temperature. Place the components (minus grips and stocks) into the basket. Avoid crowding the parts.
- Lower the basket into the solution. Cleaning cycle time depends on the extent of contamination.
- At the end of the cycle remove the basket and examine the parts. If satisfied place them in the lubricating solution, insert the pan into the cleaning tank. Ultrasonic lubrication removes all traces of water, leaving a fine dry lubricating film.
Parts are now ready for reassembly.
Two Ultrasonic Gun Cleaning Tank Options
For cleaning pistol components, we suggest the HCS-200 ultrasonic gun cleaning kit sized for two full size semi-automatic handguns or a 6-inch revolver.
Designed and manufactured for law enforcement personnel, the recreational shooter, hobbyist, collector or sportsman, it cleans up to 16 times better than hand cleaning and eliminates the need for multiple cleaning products.
This kit contains your ultrasonic gun cleaner, basket and cover along with a separate lubricating pan, cleaning solution concentrate, and lubricating solution.
For rifles, long guns or cleaning and lubricating multiple hand guns the same cycle a good choice is the LG3606 ultrasonic firearm cleaning and lubricating system.
It includes a 7.5 gallon cleaning tank, lubricating pan, mesh basket and lid, 1 gallon of cleaning solution concentrate and 2 gallons of lubricant along with comprehensive operating instructions.
Maintaining the cleaning solution
Contaminants that rise to the surface of the ultrasonic gun cleaner bath should be skimmed off and set aside.
When cleaning time takes longer it is time to replace the solution. Drain the tank and dispose of the solution along with skimmed residues following local regulations. Take the time to remove sludge that settled to the bottom of the tank then clean the tank. This should be done using a cleaning process recommended by the manufacturer.
Then you can prepare and degas a fresh batch of cleaning solution.
Ultrasonic Gun Cleaning Summary
While gun cleaning solvents play an important role in maintaining firearms after a day on the range or in the field, they should be used with care. For more thorough cleaning, especially reaching the cracks, crevices and other difficult-to-reach areas, nothing beats a periodic session in an ultrasonic gun cleaning tank.
Contact Tovatech’s ultrasonic cleaning professionals for recommendations on ultrasonic firearm cleaning equipment and cleaning solution formulations that meet your ultrasonic gun cleaning requirements.