Ultrasonic Cleaners
Specifying an Ultrasonic Cleaner
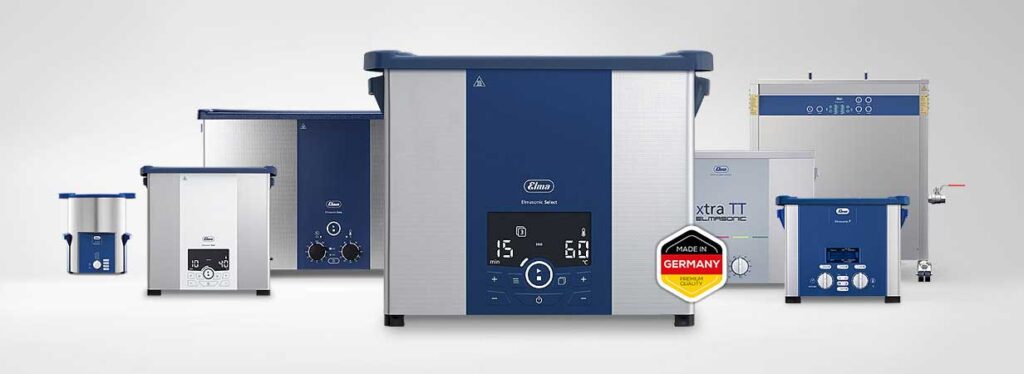
Specifying an ultrasonic cleaner for a specific application requires careful consideration of several key factors to ensure effective and efficient cleaning. The process involves more than just selecting a machine; it necessitates a comprehensive understanding of the technology, the cleaning task at hand, and the proper operational procedures. Before proceeding further, first determine how you…
How to Select the Best Ultrasonic Cleaning Solution
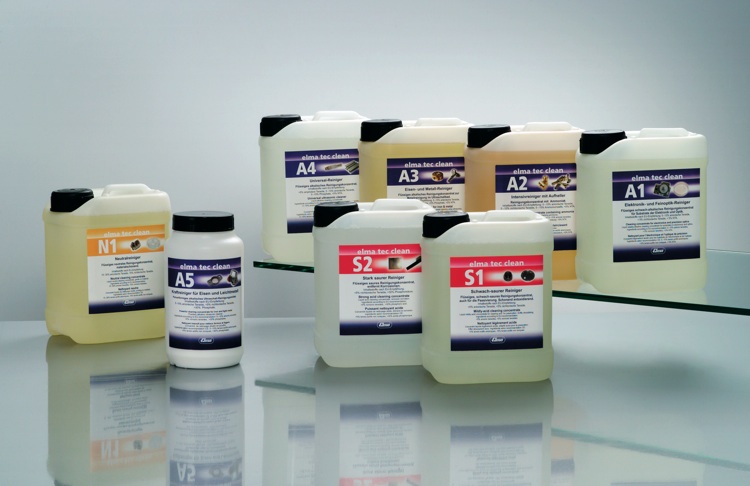
Choosing the correct ultrasonic cleaning solution chemistry is arguably the most critical step in the entire ultrasonic cleaning process, directly determining the effectiveness, safety, and efficiency of the operation. That’s because the wrong chemistry can fail to remove contaminants, damage the parts being cleaned, or even pose a hazard to the operator. This post will…
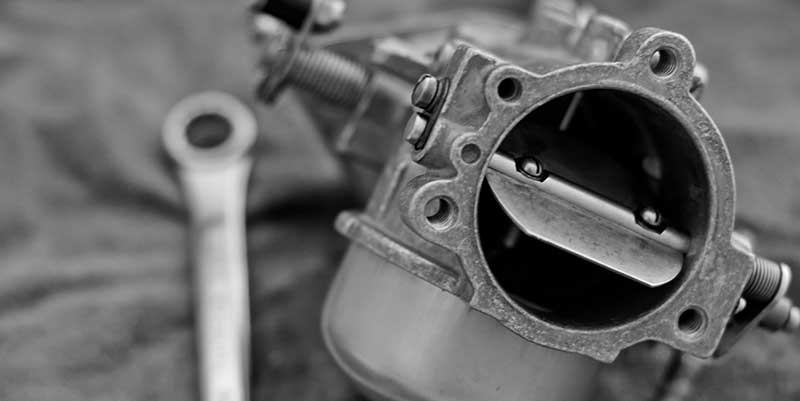
Ultrasonic Carburetor Cleaner Commonly Asked Questions
Ultrasonic Cleaning Vinyl Phonograph Records
According to Business Research Insights, the global vinyl records market was valued at $0.36 billion in 2024, and projected to grow to $1.29 billion in 2033. Increasing popularity of “new” vinyl records is matched by collectors looking for “old vinyl.” Depending on a record’s condition, artist, genre, and other factors, “old vinyl” can have values…
Safe Cleaning Fine Mesh Lab Sieves
Lab sieves, according to Thomas Scientific, are essential tools for particle size analysis in various industries, including pharmaceuticals, chemicals, and construction. These sieves are designed to separate and classify particles by size, ensuring consistency and quality in your products and samples. Lab test sieves that include an NIST traceable calibration certificate , designed to meet…
How to Select the Right Parts Washers for Your Needs
In modern manufacturing, repair, and maintenance, achieving impeccable cleanliness of components is not just about aesthetics; it’s fundamental to quality, performance, and longevity. Whether you’re working with precision medical instruments, heavy-duty automotive engine blocks, or delicate electronic components, selecting the appropriate parts washers can make all the difference. This comprehensive guide will walk you through…
Selecting an Explosion Proof Ultrasonic Cleaner
Ultrasonic Cleaning System Meets VW’s Fuel Injector Cleaning Specs
Rachel Kohn, Ph.D., Tovatech LLC, Plano, TX Benchtop units teamed with a water-based cleaning formula and a special mounting plate design are adopted by VW Group America, VW Group Canada. Volkswagen Group America and Canada dealers wanted to adopt the Elmasonic S30H ultrasonic cleaning system used in Europe for fuel injector maintenance. Cleaning in the…
How To Efficiently Clean Machined Parts
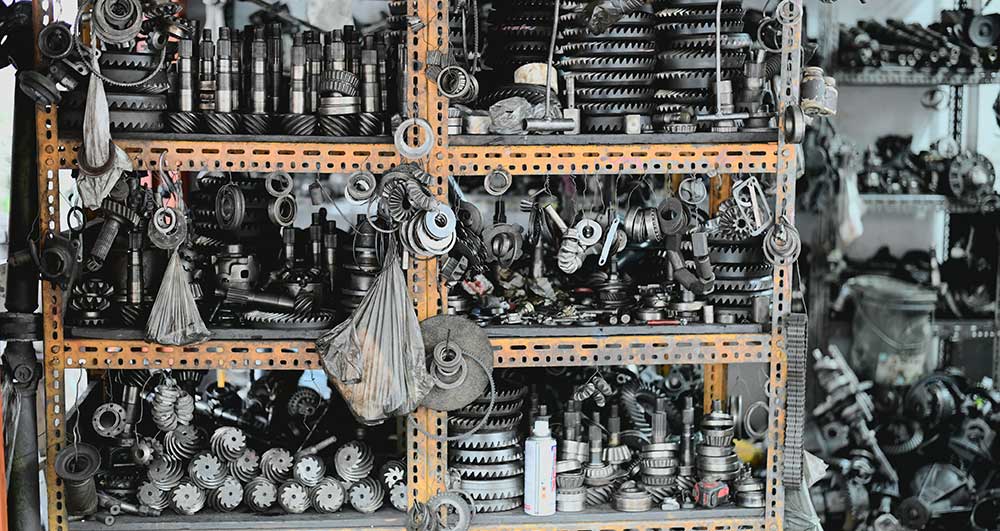
Whether you’re running a CNC shop, fabricating components for aerospace, or maintaining equipment on the production line, clean machined parts are essential for performance, durability, and downstream processes like coating or assembly. Contaminants such as cutting fluids, metal fines, and oxidation not only affect part quality — they can also lead to failed inspections and…
Choosing the Right Industrial Ultrasonic Cleaner Features and Options
Industrial ultrasonic cleaners can represent a sizeable investment. Here we define these units, what to look for when purchasing, and offer equipment options to help you make the right selection. Included are examples of industrial ultrasonic cleaner applications. Industrial Ultrasonic Cleaner Defined Industrial ultrasonic cleaners are heavy-duty cleaning systems designed for continuous operation and the…

