Ultrasonic Cleaner Maintenance: 4 Key Tips
Ultrasonic cleaner maintenance should be part of your standard operating procedures to prolong the life of your investment and help ensure desired results. Signs that maintenance is required can start when cleaning solutions lose their effectiveness.
This is the time to drain the tank and replace the cleaning solution. While most cleaning solutions offered today are biodegradable take note of and follow local disposal regulations.
The first step is rinsing the tank thoroughly to remove adhering contaminants and wipe dry per directions in the instruction manual. Under no circumstances should scouring media be employed in ultrasonic cleaner maintenance.
Then carefully note of the condition of the tank. This can signal ultrasonic cleaner maintenance procedures described below.
4 Key Tips to Ultrasonic Cleaner Maintenance
Here are signals that situations need addressing:
1. Ultrasonic Cleaner Rust Film
Elma ultrasonic cleaners have stainless steel tanks, which under normal conditions do not rust.
Instead, rust films are introduced as a deposit either from ferrous products being cleaned or from tap water used in the tank.
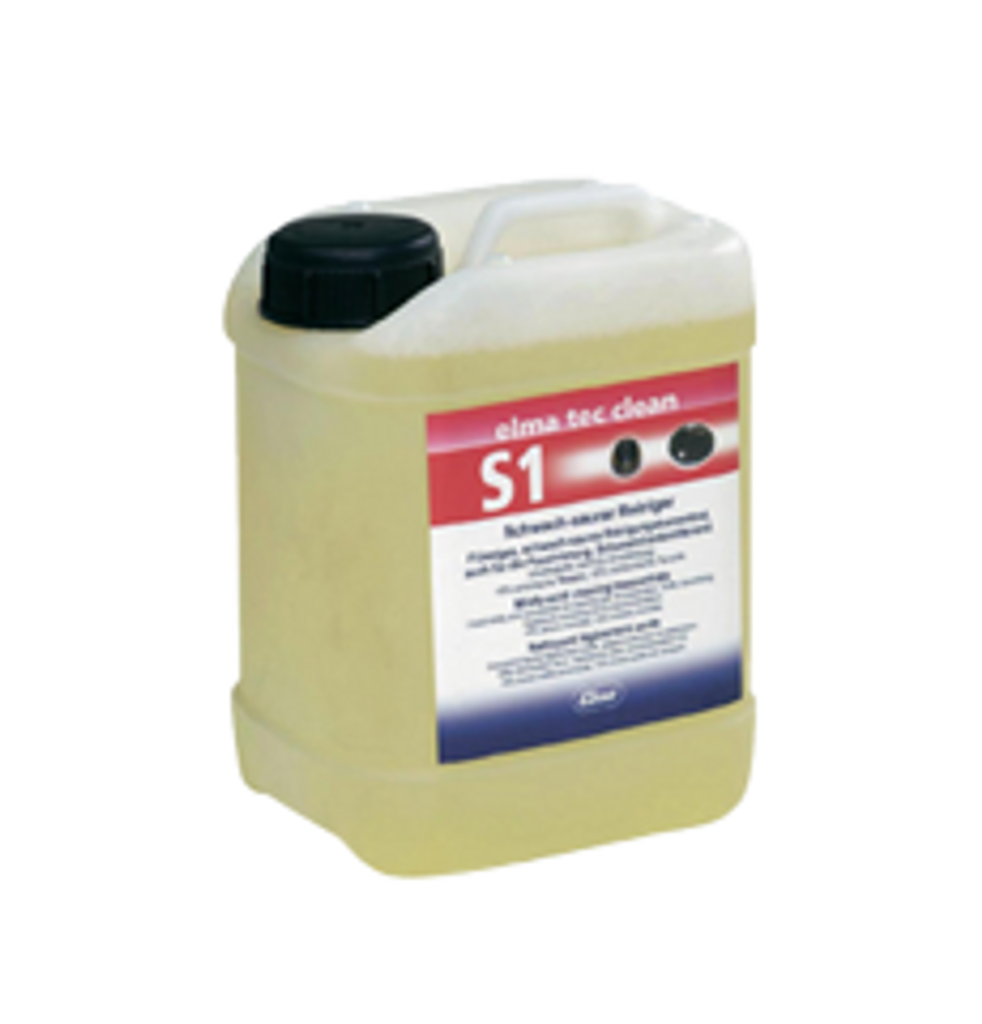
Rust stains can be removed by regularly cleaning the tank surface using a suitable cleaning solution such as elma tec clean S1. This formula, diluted to 1 to 5% with water, is also ideal for removing oxide film, lime, grease, oil, corrosion and mineral deposits from metal parts, plastic and glass.
2. Removing Mineral Deposits or “Furring”
Mineral deposits (also called furring) can occur around heating elements when ultrasonic baths are operated at elevated temperature.
These deposits are caused by highly calciferous water in contact with hot surfaces.
Furring – as well as heat-caused discoloration of the tank – can be minimized by continuous circulation of the heating bath to avoid hot spots near the heaters.
A recommended practice is to turn on the ultrasound as the bath begins to heat. This helps ensure temperature distribution is equal throughout the bath.
But if furring or discoloration occurs the remedy is the same as for removing rust films with a bath using elma tec clean S1 ultrasonic cleaning solution.
3. Avoiding Pinholes in Ultrasonic Cleaner Tanks
Pinholes are a serious concern for ultrasonic cleaning tanks. They can be caused in several ways.
One is by hard particles that fall to the tank bottom during normal ultrasonic cleaning operations. Ultrasonic vibration can cause hard particles to act as a “drill,” slowly penetrating the tank bottom. Penetration will result in a lost investment.
When replacing spent solutions take time to thoroughly rinse the tank to ensure hard particles are removed.
Another cause is from mechanical abrasion of metal parts being cleaned, or if metal parts containers are in direct contact with the tank surface.
To avoid this always use a basket when cleaning such parts and be sure the basket does not contact the tank floor or walls. More on this is presented in our ultrasonic cleaner learning center videos.
Highly acidic baths can also cause pinholes. If such baths are necessary they should be put into acid resistant tubs that in turn are placed in the ultrasonic cleaning tank containing water. Ultrasonic energy passes through the tub to act on items being cleaned in the acidic bath.
4. How to Postpone Cavitation Erosion
A fourth ultrasonic cleaner maintenance tip deals with cavitation erosion that can occur in the areas around the transducers.
Cavitation erosion is a natural byproduct of ultrasonic cleaning and, depending on how the units are used, will sooner or later occur to the point where the tank will leak.
To postpone this we suggest you institute regular tank cleaning to remove abrasive particles that fall from objects being cleaned. As noted above, ultrasonic vibration excites these particles on the tank bottom to the point where have the effect of small drills that damage and can eventually penetrate the tank floor.
Also as above, highly acidic cleaning solutions can likewise damage the steel, as can placing items being cleaned directly on the tank floor. Another good practice is to maintain cleaning solutions at the proper level for the particular tank.
Other Tips for Ultrasonic Cleaner Maintenance
- Regularly clean the exterior of your unit with a damp cloth and disinfectant solution. Do not spray the casing.
- Remove accumulated dust from the ventilator grill shielding the blower. This helps maintain cooling performance and avoid unit malfunction.
- Check power cords for wear; replace when necessary.
- Read the instruction manual setup and maintenance pages for requirements specific to the model of your unit.
Other Questions on Ultrasonic Cleaners?
Please check our post on Ultrasonic Cleaner FAQs for more information. Then contact the ultrasonic cleaning professionals at Tovatech for expert, unbiased advice.

